
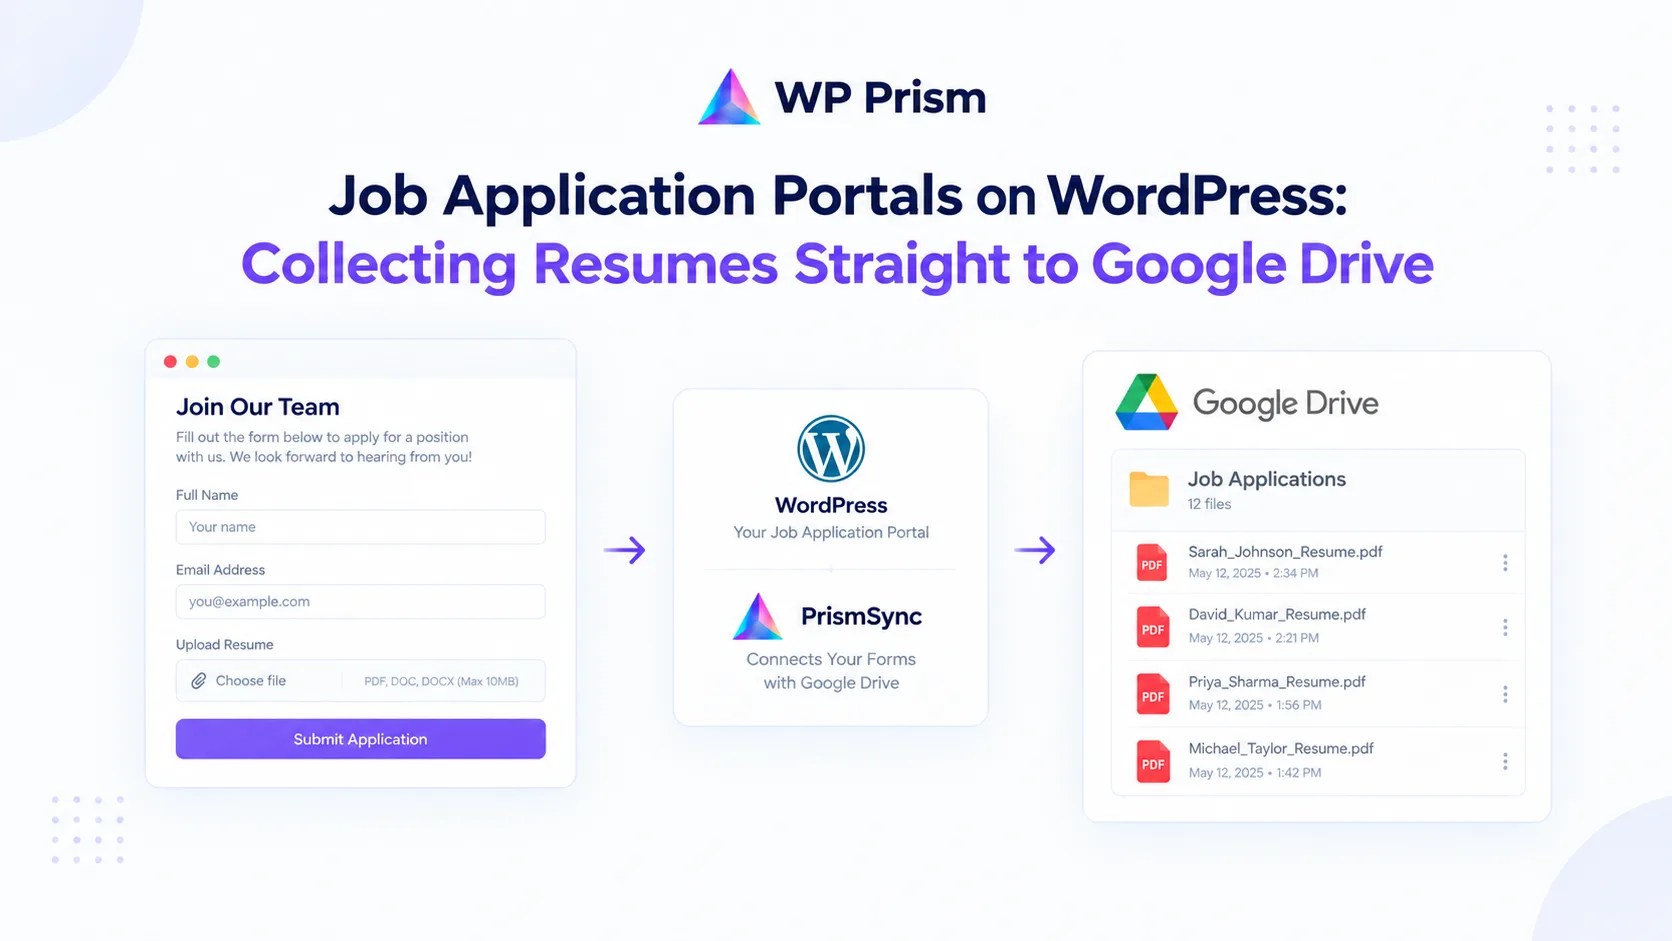
Most businesses that advertise jobs on their WordPress site handle applications one of two ways. Either they paste a generic email address on the page and wade through attachments in their inbox, or they pay for a third party HR platform that costs more than the hiring volume justifies.
There’s a cleaner middle ground: a proper application form on your own site that routes every resume, cover letter, and supporting document directly to an organized Google Drive folder the moment it’s submitted. No inbox archaeology, no server storage, no manual file sorting.
Here’s how to build it properly.
What the Setup Looks Like End to End
A visitor lands on your jobs page, fills in the application form, and uploads their resume and any supporting documents. The moment they submit, two things happen automatically: a confirmation email goes to the applicant, and their files land in a designated Google Drive folder organized by job title or applicant name. Your hiring team opens Drive and finds everything already sorted, labeled, and ready to review.
The stack:
- Elementor Pro for the application form
- Drive Upload for Elementor Forms to route file uploads directly to Google Drive
- A free Google Cloud project for the API connection
- Google Drive as the organized, access controlled destination
Step 1: Plan Your Folder Structure in Google Drive
Before building the form, set up the Drive folder structure you want applications to land in. A clean structure for most hiring setups looks like this:
Job Applications/
  Marketing Manager/
  Senior Developer/
  Operations Coordinator/
Create a parent folder called Job Applications (or whatever label suits your business) and subfolders for each open role. You can also add a catch all folder for roles not listed if you accept speculative applications.
The Drive Upload plugin’s dynamic folder mapping will route each submission to the right subfolder automatically based on the job title the applicant selects on the form.
Step 2: Create a Google Cloud Project
The plugin connects to Google Drive through Google’s official OAuth2 API using credentials from a Google Cloud project you own. This is a one time setup that takes about 10 minutes.
- Go to console.cloud.google.com and create a new project
- Enable the Google Drive API under APIs & Services → Library
- Go to Credentials → Create Credentials → OAuth 2.0 Client ID
- Set application type to Web application
- Add the redirect URI from the plugin settings page in WordPress
- Copy your Client ID and Client Secret
Step 3: Connect the Plugin
In WordPress, go to the Drive Upload plugin settings, paste in your Client ID and Client Secret, save, then click Authorize with Google. Sign in with the Google account that owns or has edit access to your Job Applications folder. Grant the requested permissions and you’ll be redirected back with a confirmed connection.
Step 4: Build the Application Form in Elementor
Create a new page in WordPress for your job portal and add an Elementor Form widget. A complete job application form typically includes:
- Full Name (text field)
- Email Address (email field, used for the confirmation notification)
- Phone Number (tel field, optional)
- Position Applied For (select field, list each open role as an option, this field drives the dynamic folder mapping in the next step)
- Resume (file upload field, accept PDF and DOC/DOCX, set a sensible max file size, 5MB covers almost all resumes)
- Cover Letter (file upload field, optional but recommended to keep as a separate field from the resume)
- Portfolio or Work Samples (file upload field, optional, useful for creative or technical roles)
- Brief Introduction (textarea, optional, gives applicants a chance to add context beyond the resume)
For the Position Applied For select field, make sure the option values match the subfolder names in your Google Drive exactly, or close enough that you can map them cleanly in the next step.
Step 5: Configure Dynamic Folder Routing
In the Elementor Form settings, go to the Drive Upload tab and create a new feed. Set the destination folder using a dynamic path that includes the Position Applied For field value.
The folder path will look something like:
Job Applications/{field:position_applied_for}Where {field:position_applied_for} is the merge tag for your select field. Check the plugin documentation for the exact merge tag syntax for your version.
This means a submission for the Marketing Manager role automatically routes to Job Applications/Marketing Manager/ in Drive, and a Senior Developer application goes to Job Applications/Senior Developer/. No manual sorting, no misplaced files.
You can also include the applicant’s name in the folder path or file name if you want each applicant’s documents in their own named subfolder:
Job Applications/{field:position_applied_for}/{field:full_name}Step 6: Set Up the Confirmation Email
Still in the Elementor Form settings, go to the Email tab and configure two notifications:
Applicant confirmation: sends to the email field value, confirms receipt of their application, and sets a professional tone for the candidate experience. Include the role they applied for and an estimated response timeline if you have one.
Internal notification: sends to your hiring team’s email address or shared inbox, alerts them that a new application came in, includes the applicant’s name, role, and a note that their documents are in Google Drive.
Step 7: Test the Full Flow
Submit a test application using a real PDF file as the resume. Then check:
- The file appears in the correct Google Drive subfolder within a few seconds of submission
- The applicant confirmation email arrived with the correct content
- The internal notification arrived with the right details
- The file name is clean and identifiable (not a random string of characters)
If the folder routing landed in the wrong place, double check the merge tag syntax in the folder path field and retest.
Keeping the Portal Maintained
A job application portal only stays useful if it reflects your actual open roles. A few habits to keep it current:
Update the Position Applied For options when roles open or close. An applicant selecting a role that’s no longer open creates a bad experience and a Drive folder with misdirected files.
Archive closed role folders in Drive once hiring is complete rather than deleting them, in case you need to refer back to candidates for future openings.
Review file naming periodically. If multiple applicants for the same role submit files all named “Resume.pdf,” Drive will keep both but the names become meaningless. Consider configuring the file rename setting in the plugin to include the applicant name automatically.
Frequently Asked Questions
Do applicants need a Google account to submit? No. The form is a standard web form. Only your WordPress site needs the Google Drive connection. Applicants just upload their files the same way they would on any other form.
Can I accept applications for multiple roles from one form? Yes. The Position Applied For select field with dynamic folder mapping handles this. One form, multiple roles, each application routed to the correct folder automatically.
What happens if an applicant uploads a file type we don’t accept? The Elementor file upload field has an allowed file types setting. Set it to PDF, DOC, DOCX (and any others you accept) and the form will reject disallowed file types before submission with a clear error message to the applicant.
Is this suitable for high volume hiring? For small to medium hiring volumes, yes. If you’re processing hundreds of applications a week, a dedicated ATS (applicant tracking system) may offer better workflow features like status tracking and collaborative review. For most businesses hiring occasionally or for a handful of roles at a time, this setup is more than sufficient.
Can I add screening questions to the form? Yes. Add as many form fields as you need. Conditional logic in Elementor Forms lets you show different questions based on the role selected, so a technical role can ask about a specific skill while a creative role asks for a portfolio link.
Ready to get resumes off your inbox and into organized Drive folders automatically? Get Drive Upload for Elementor Forms and have your first application routing to Google Drive today.