
Gravity Forms handles most form scenarios well. But one common requirement trips it up: collecting a variable number of similar items from one person. Event registrations where the buyer enters details for each attendee. Job applications with multiple previous employers. Orders with several custom line items.
The workaround is usually to add five sets of fields and hope nobody needs six, or to build a multi-step form that loops somehow. Neither is clean.
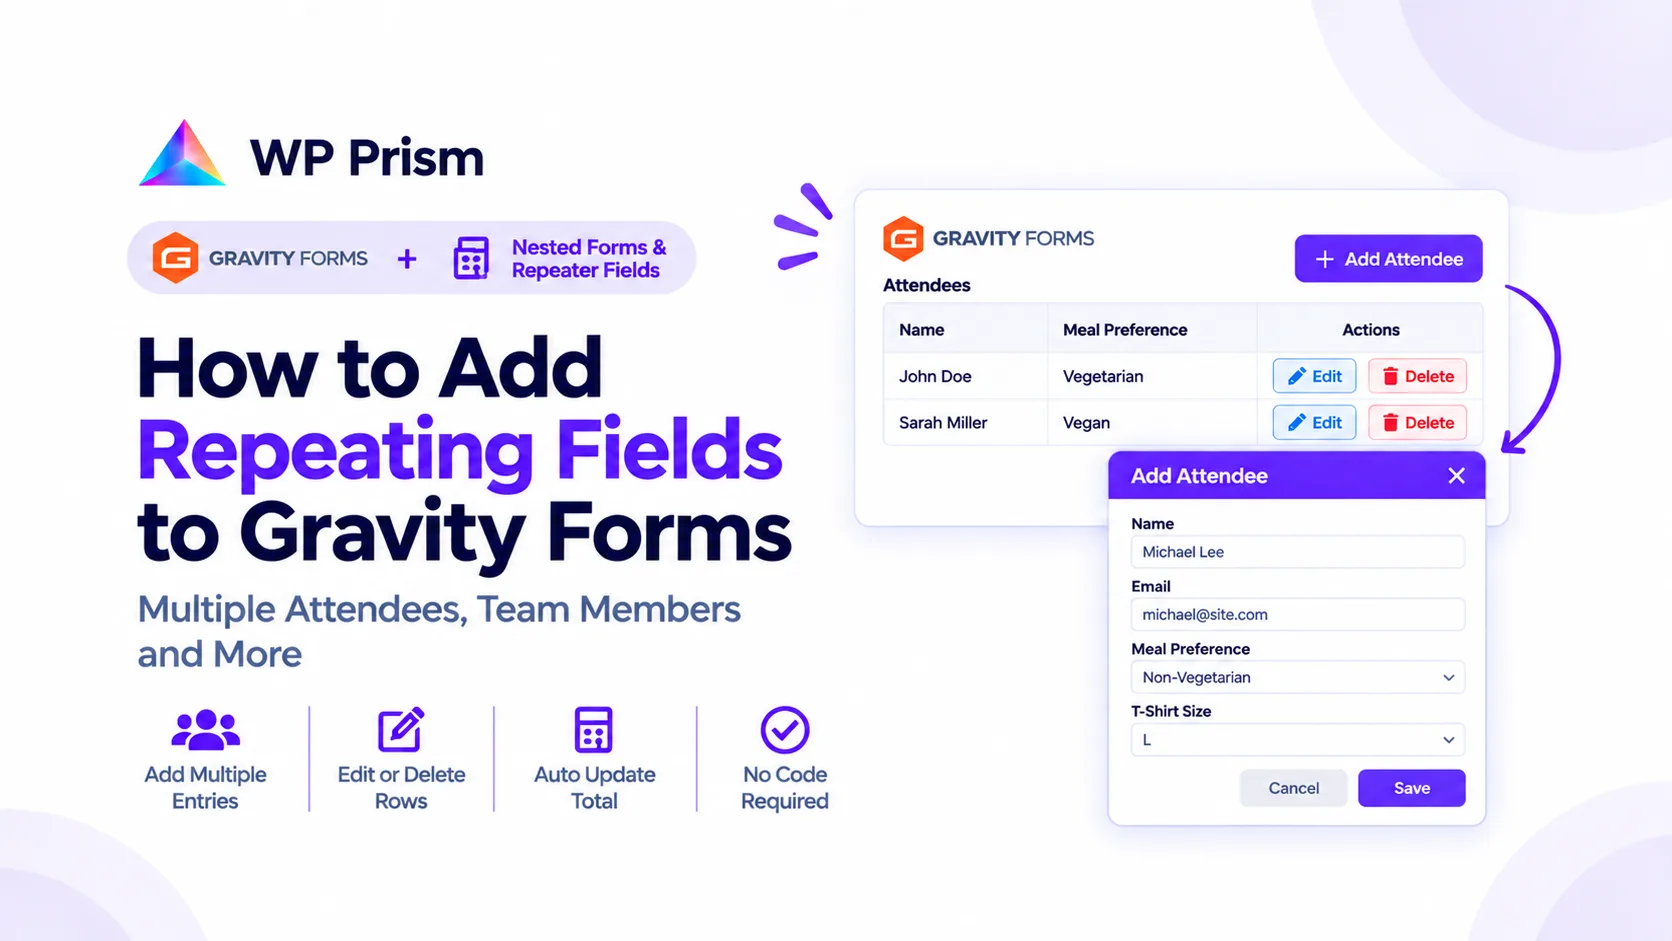
Nested Forms and Repeater Fields for Gravity Forms solves this properly. Visitors add as many rows as they need, each filled in through a popup modal, with a live summary table that lets them edit or delete any row before submitting.
This tutorial walks through building an event registration form where the buyer enters details for each attendee.
What You Are Building
A single Gravity Forms page where someone can:
- Enter their own contact details
- Add one or more attendees (name, email, meal preference, t-shirt size)
- See all attendees listed in a summary table before submitting
- Pay per attendee via Stripe or PayPal, with the total updating as they add rows
Step 1: Build the Child Form
The child form is a regular Gravity Form that holds the fields for one repeating item — in this case, one attendee.
Create a new Gravity Form and add:
- Name (Single Line Text or Name field)
- Email (Email field)
- Meal Preference (Drop Down: Vegetarian, Non-Vegetarian, Vegan)
- T-Shirt Size (Drop Down: S, M, L, XL, XXL)
Keep the child form simple. It does not need a Submit button — the popup handles submission. Save it as something recognizable like “Event Attendee Details.”
Step 2: Add the Repeater Field to Your Main Form
Open your main event registration form (or create one). This form holds the buyer’s own details plus the repeater field.
In the field picker on the right, find the Nested Forms & Repeater Fields section and drag the Repeater / Nested Form field into your form.
In the field settings:
- Child Form: select “Event Attendee Details”
- Button Text: “Add Attendee”
- Popup Header Color: match your brand
- Summary Columns: drag in Name and Meal Preference (the columns visitors see in the table — keep it to 2 or 3)
- Minimum entries: 1 (so at least one attendee is required)
- Maximum entries: leave blank for no limit, or set a cap if the event has a per-booking limit
Save the form.
Step 3: Set Up Per-Attendee Pricing (Optional)
If you are charging per attendee, in the Repeater field settings, enable Repeater Pricing and set the price per row (e.g. $45 per attendee).
The plugin calculates a subtotal as rows are added or removed and feeds it into the Gravity Forms order total. Connect a Stripe or PayPal add-on to your main form as usual — the total it charges reflects the final attendee count.
Child form notifications and payment webhooks wait until the main form is submitted and payment succeeds, so no partial records appear in your payment processor.
Step 4: Test the Form
Preview your main form and click Add Attendee. The popup opens with your child form fields. Fill them in and click Save. The attendee appears as a row in the summary table.
Add a second attendee. Edit the first one — the popup reopens with the saved values. Delete one. Watch the pricing update if you enabled per-row pricing.
Submit the form and check your Gravity Forms entries. The main entry includes all attendee rows. If you export to CSV, child entries appear alongside the main form entry in one file.
Real-World Use Cases
Festival or conference passes: Collect name, dietary requirements, and accessibility needs for each pass holder in one purchase.
Team registrations: Sports registrations, hackathons, or workshops where one person signs up a group and enters details for each member.
Multi-item custom orders: Product configurators where each item has its own options (size, color, engraving text) and a per-item price.
Job applications with work history: Candidates add each previous employer as a row — company, role, dates, reason for leaving — without a fixed limit.
Expense reports: Add each expense line by line with date, category, amount, and receipt upload, all inside one form submission.
Why Not Use Conditional Logic or Multi-Page Forms Instead?
Conditional logic can show or hide extra field sets, but you have to decide the maximum in advance. Five sets of attendee fields means the form always shows five sets, or hides most of them, and your entries always have empty fields for unused slots. It does not scale.
Multi-page forms with a loop require custom development. Gravity Forms does not natively loop back to a page.
The Repeater field handles both problems: unlimited rows without empty fields, with no custom code.
Get the Plugin
Nested Forms and Repeater Fields for Gravity Forms — $29/year or $99 lifetime.