
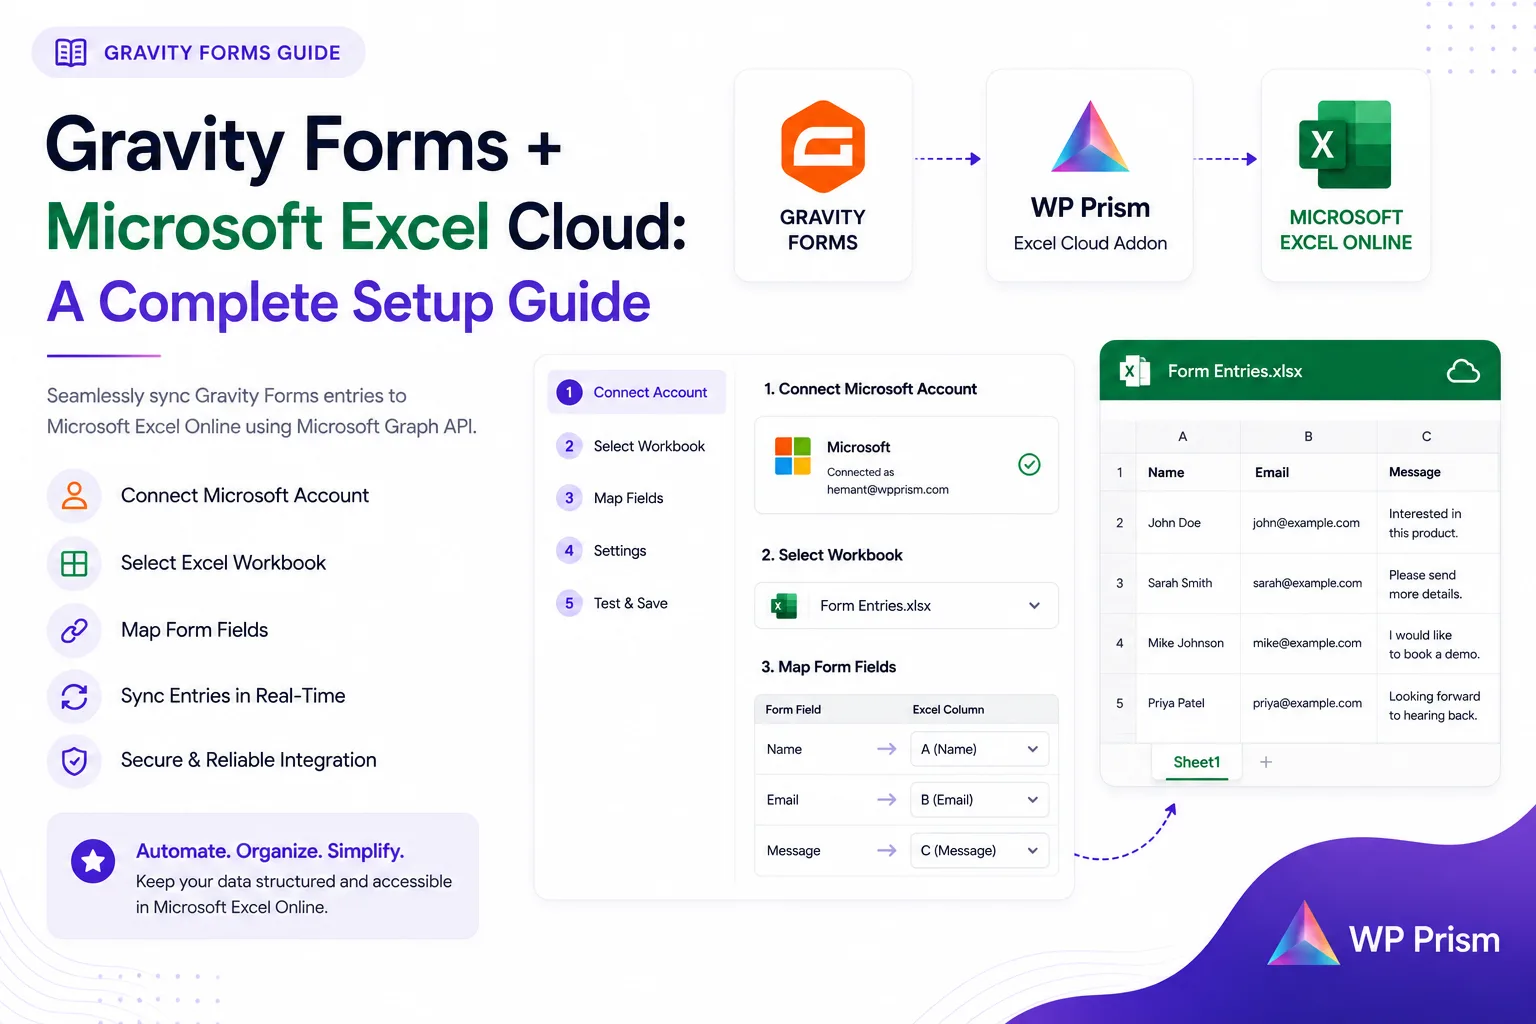
If you’re running Gravity Forms on a site that reports to a team working out of Microsoft Excel, you already know the friction. Someone is either exporting CSVs by hand, or your data is sitting in the WordPress dashboard while the people who need it are waiting on a spreadsheet. Neither is a workflow you want to maintain long term.
This guide walks through the complete setup of the Gravity Forms Microsoft Excel Cloud Addon, from registering the Azure application that handles authentication all the way to your first live entry landing in a workbook automatically.
What You’ll Need Before You Start
- An active Gravity Forms license (any tier)
- A Microsoft 365 account with access to Excel Online (OneDrive or SharePoint)
- The Gravity Forms Microsoft Excel Cloud Addon installed and activated
- Access to the Microsoft Azure Portal to register an application (this is free and takes about 5 minutes)
The Azure step is the one that trips most people up because it sounds more technical than it is. It’s essentially creating a set of API credentials that let your WordPress site talk to Microsoft’s API securely, the same way a Google Cloud project works for Google Drive integrations.
Step 1: Register an App in Microsoft Azure
The addon connects to Excel Cloud using Microsoft’s own OAuth2 flow, which means your Microsoft credentials are never stored on your server. Authentication happens through Microsoft directly.
- Go to portal.azure.com and sign in with your Microsoft 365 account
- Search for “App registrations” in the top search bar and open it
- Click New registration
- Give the app a name (something like “WP Prism Excel Addon” works fine, it’s just for your own reference)
- Under “Supported account types,” select Accounts in any organizational directory and personal Microsoft accounts
- Under “Redirect URI,” select Web and enter your site’s admin URL (you’ll find the exact URL to use in the addon settings page under Forms → Settings → Excel Cloud)
- Click Register
Once registered, you’ll land on the app’s overview page. Copy the Application (client) ID and the Directory (tenant) ID, you’ll need both in a moment.
Next, go to Certificates & secrets → New client secret, add a description, set an expiry (12 months is a sensible default), and click Add. Copy the secret value immediately, it only shows once.
Finally, go to API permissions → Add a permission → Microsoft Graph → Delegated permissions and add Files.ReadWrite.All. Click Grant admin consent to activate it.
Step 2: Configure the Addon in WordPress
In your WordPress dashboard, go to Forms → Settings → Excel Cloud.
Paste in the three values from your Azure app registration:
- Client ID
- Client Secret
- Tenant ID
Save the settings, then click Connect to Microsoft. You’ll be redirected to a Microsoft login screen to authorize the connection. Sign in with the Microsoft 365 account that has access to the Excel workbooks you want to write to. Once authorized, you’ll be redirected back to WordPress with a confirmed connection.
Step 3: Prepare Your Excel Workbook
Before setting up the feed, make sure your Excel workbook is ready to receive data:
- The workbook should already exist in OneDrive or SharePoint (the addon writes to existing workbooks, it doesn’t create new ones from scratch)
- The sheet that will receive entries should have column headers in the first row, one header per field you want to capture
- The headers don’t need to match your form field labels exactly, you’ll map them manually in the next step
A simple structure works best: one column per form field, one row per entry. No merged cells in the header row.
Step 4: Create a Feed on Your Form
Go to the specific Gravity Form you want to connect. Under Form Settings → Excel Cloud, click Add New Feed.
Give the feed a name, then:
- Select the OneDrive or SharePoint workbook you want to write to from the dropdown
- Select the specific sheet within that workbook
- In the field mapping table, match each form field on the left to the correct Excel column header on the right
You can also map a timestamp column if you want each entry row to record exactly when it was submitted, which is useful for any reporting or audit trail use case.
Once the mapping is complete, save the feed.
Step 5: Test With a Live Entry
Submit a test entry on the form, then open your Excel workbook in Excel Online. The entry should appear as a new row within a few seconds.
Check that:
- Each field value landed in the correct column
- The row appeared at the bottom of the existing data rather than overwriting anything
- Any conditional fields that were left blank on the test submission show as empty cells rather than errors
If anything looks off in the column mapping, go back to the feed settings and adjust the field assignments.
What Happens After This
From this point, every new submission on that form writes to the workbook automatically. No exports, no Zaps, no manual steps. The Excel file your team is already working from stays current in real time.
A few things worth knowing for ongoing use:
- If you add new fields to the form later, go back to the feed and map the new fields to new columns in the workbook. The addon won’t auto detect new fields.
- If you move the workbook to a different folder in OneDrive, re select it in the feed settings so the connection points to the new location.
- The Azure client secret you created expires based on the duration you set. Add a calendar reminder to rotate it before it expires or the sync will stop until you update the credentials in the addon settings.
Frequently Asked Questions
Can I connect multiple forms to the same workbook? Yes. Each form has its own feed, and multiple feeds can point to the same workbook, even to the same sheet if you want all entries in one place, or to different sheets if you want them separated.
Can one form write to multiple workbooks? Yes. You can create multiple feeds on a single form, each pointing to a different workbook or sheet.
Does the addon support conditional logic on feeds? Yes. You can set feed conditions so entries only sync to Excel when specific field values are met. For example, syncing only entries where a “Status” field equals “Approved.”
What happens if the sync fails? The addon logs failed sync attempts. You can retry a failed entry from the entry detail view in the Gravity Forms entries list.
Does this work with SharePoint, or only OneDrive? Both. The Microsoft Graph API that the addon uses treats OneDrive and SharePoint files the same way. You can connect to a workbook stored in either location.
Ready to stop exporting CSVs and have Gravity Forms entries land in Excel automatically? Get the Gravity Forms Microsoft Excel Cloud Addon and have your first feed live in under 20 minutes.