
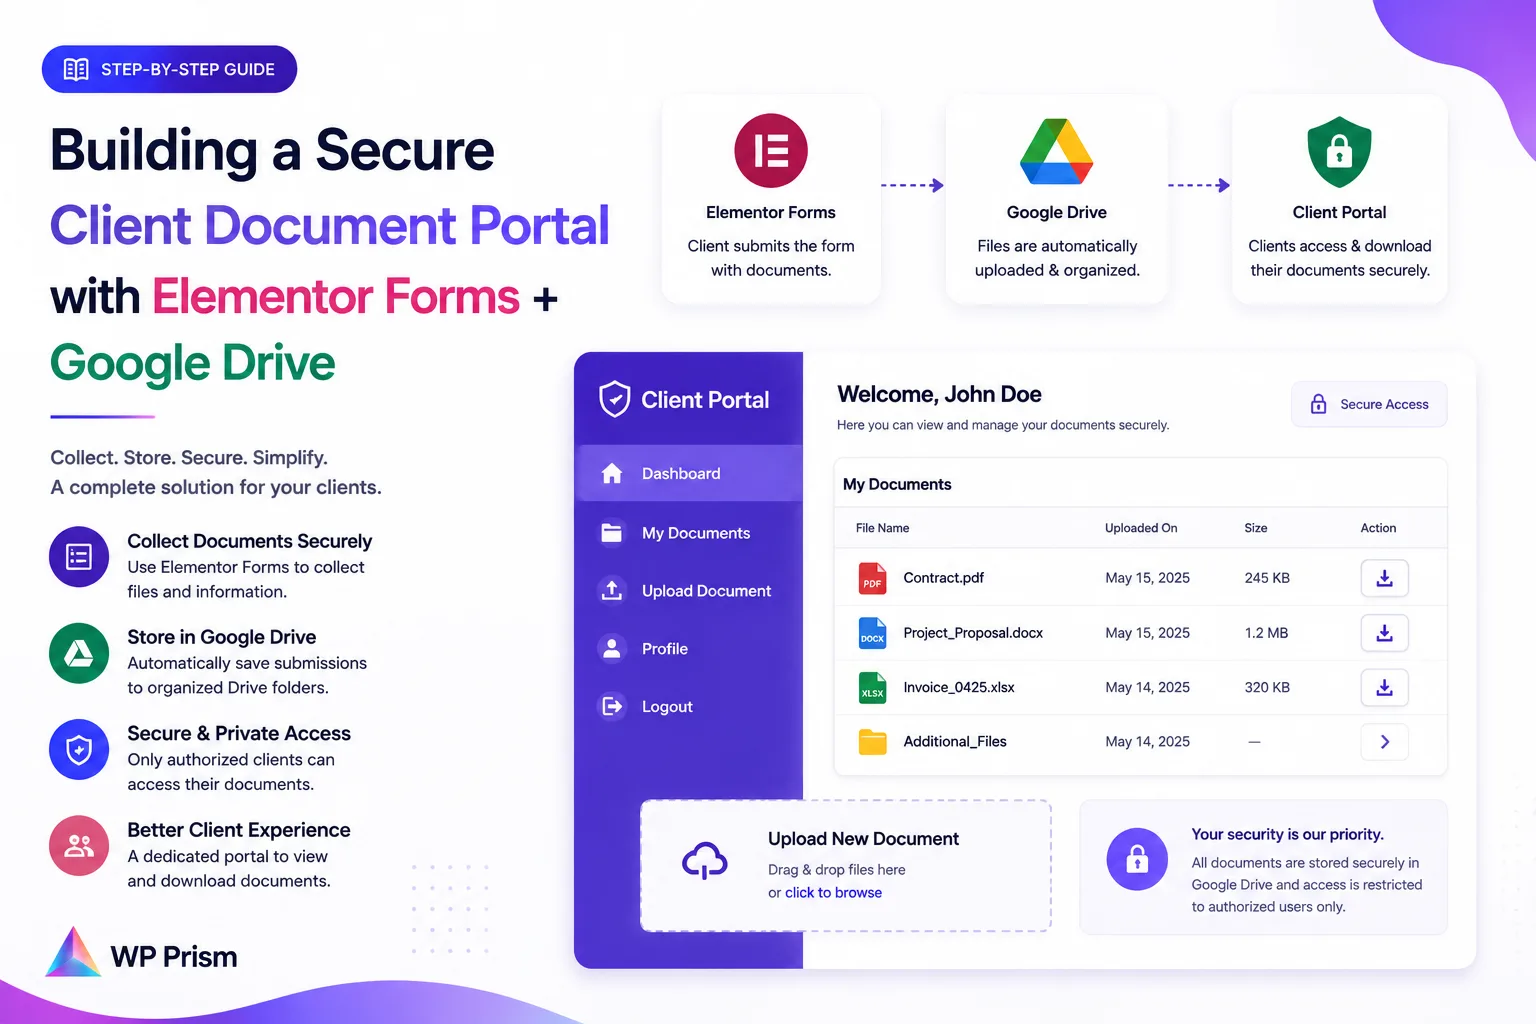
A client document portal sounds like something that requires a custom web app, a backend developer, and a hosting setup built for it. In practice, for most agencies, law firms, HR teams, and real estate businesses, the requirement is simpler than that: clients need a way to upload files, and those files need to end up somewhere organized and accessible to the right people.
WordPress with Elementor Forms gets you most of the way there. The missing piece is where those files actually go after submission, and the default answer (your server’s wp-content folder) is not the right one for sensitive documents.
Here’s how to build the whole thing properly.
Why Your Server Is the Wrong Place for Client Files
Elementor Forms supports file upload fields out of the box. When a client submits a form with an attachment, that file lands in your WordPress uploads directory by default. This creates a few problems:
Access control is limited. WordPress doesn’t apply authentication to files in the uploads directory by default. A direct URL to an uploaded file is publicly accessible unless you’ve specifically configured your server to block it, which most WordPress sites haven’t.
Your server wasn’t built for document storage. Backup schedules, storage limits, and hosting costs all get worse as your uploads directory grows. More importantly, your clients’ contracts and ID documents shouldn’t live on a shared hosting environment indefinitely.
Your team works in Drive, not in WordPress. The people who need to act on submitted documents aren’t logging into WordPress to find them. They’re in Google Drive, Gmail, and Docs. Routing files to Drive puts them where the work actually happens.
What the Setup Looks Like
The stack is straightforward:
- Elementor Pro for the form, handling the client facing intake interface
- Drive Upload for Elementor Forms to route each upload directly to a designated Google Drive folder on submission
- A Google Cloud project for the OAuth2 connection between your site and your Drive (free to set up, takes about 10 minutes)
- Google Drive as the organized, access controlled destination for all files
No Zapier, no file sitting on your server, no manual download and re upload.
Step 1: Set Up Your Google Cloud Project
The addon connects to Google Drive through Google’s own API using a Google Cloud project you own. This means the connection is direct from your WordPress site to your Drive, with your own credentials, not through a third party platform.
- Go to console.cloud.google.com and create a new project (name it anything, “WP Drive Upload” works fine)
- Enable the Google Drive API for the project under APIs & Services → Library
- Go to APIs & Services → Credentials → Create Credentials → OAuth 2.0 Client ID
- Set the application type to Web application
- Under “Authorized redirect URIs,” add the redirect URL shown in the plugin settings (found under Elementor → Drive Upload settings in your WordPress dashboard)
- Download the credentials JSON or copy the Client ID and Client Secret
Keep the OAuth consent screen set to “External” with your own email as a test user during setup. You can publish it later if needed, but for a private client portal it can stay in testing mode indefinitely.
Step 2: Connect the Plugin to Your Drive
In your WordPress dashboard, go to Elementor → Drive Upload (or wherever the plugin surfaces its settings, check the plugin’s documentation for your version).
Paste in your Client ID and Client Secret from the Google Cloud project, save, then click Authorize with Google. Sign in with the Google account that owns or has edit access to the Drive folder you want files routed to. Grant the requested permissions and you’ll be redirected back to WordPress with a confirmed connection.
Step 3: Build the Elementor Form
In Elementor, build the intake form your clients will use. A basic client document portal form typically includes:
- Name (text field)
- Email (email field)
- Document type (select or radio, so clients can categorize what they’re uploading)
- File upload field (set allowed types to PDF, DOC, DOCX, JPG, PNG depending on what you need to accept)
- Optional notes field
For the file upload field specifically, set a reasonable maximum file size based on what your hosting and Google Drive plan can handle. 10MB per file covers most document upload use cases.
Step 4: Configure the Drive Upload Feed
In the form’s settings, go to the Drive Upload tab and create a new feed. Here you’ll set:
Destination folder: select or paste the Google Drive folder ID where files should land. You can find a folder’s ID in its URL when you open it in Drive (the long string of characters after /folders/).
Dynamic folder mapping: this is the feature that keeps your Drive organized automatically. Instead of all client uploads landing in one flat folder, you can set the destination to include a form field value, so a client named “Acme Corp” who selects “Contract” as their document type could have their file routed to a folder path like Client Uploads / Acme Corp / Contracts automatically.
To do this, use the available field merge tags in the folder path field. The exact syntax is in the plugin documentation, but the principle is: folder path + field value = dynamic destination.
Step 5: Publish and Test
Publish the page with the form and submit a test entry with a sample file. Then check your Google Drive to confirm the file landed in the correct folder with the correct name.
Check that:
- The file appears in Drive within a few seconds of submission
- It landed in the right folder based on your dynamic mapping settings
- The file is accessible to the team members who have access to that Drive folder
- No copy of the file remains in your WordPress uploads directory (depending on plugin settings, you may be able to configure it to delete the local copy after a successful Drive upload)
Practical Use Cases This Works For
Agencies collecting client assets. Brief documents, brand files, copy drafts, and revision files all come through the same form and land in the right client folder automatically.
HR teams collecting job applications. Resume and cover letter uploads route to a shared Drive folder the hiring team can access without anyone logging into WordPress.
Real estate businesses. Property photos, signed agreements, and disclosure documents collect through a client portal and land in a deal specific folder in Drive.
Legal and financial services. Sensitive documents go directly from client to Drive without touching a shared hosting server in between.
Frequently Asked Questions
Do clients need a Google account to upload files? No. The form is a standard web form. Only your WordPress site needs the Google Drive connection. Clients just fill in the form and upload their file as they would anywhere else.
Can I restrict which file types are accepted? Yes. Elementor’s file upload field has an allowed file types setting. Restrict to PDF, DOCX, or whatever formats make sense for your use case.
What happens if the Drive upload fails? The plugin handles failed uploads with error logging. Depending on your configuration, the file may still be retained locally as a fallback. Check the plugin’s documentation for your specific version’s error handling behavior.
Can I send a confirmation email to the client after they upload? Yes. Elementor Forms has its own notification system. Set up a confirmation email in the form’s notification settings and it will send independently of the Drive upload.
Is this suitable for GDPR compliance? Routing files to your own Google Drive (under your own Google Workspace account with its data processing terms) is generally a cleaner compliance posture than letting files accumulate on a shared hosting server. That said, GDPR compliance depends on your full data handling setup, not just where files land. Review with your legal team if this is a concern.
Ready to stop storing client files on your server? Get Drive Upload for Elementor Forms and route your next form submission directly to Google Drive.