1. Connecting Your Google Account #
Before you can start syncing files, you need to link your WordPress site to your Google Cloud project.
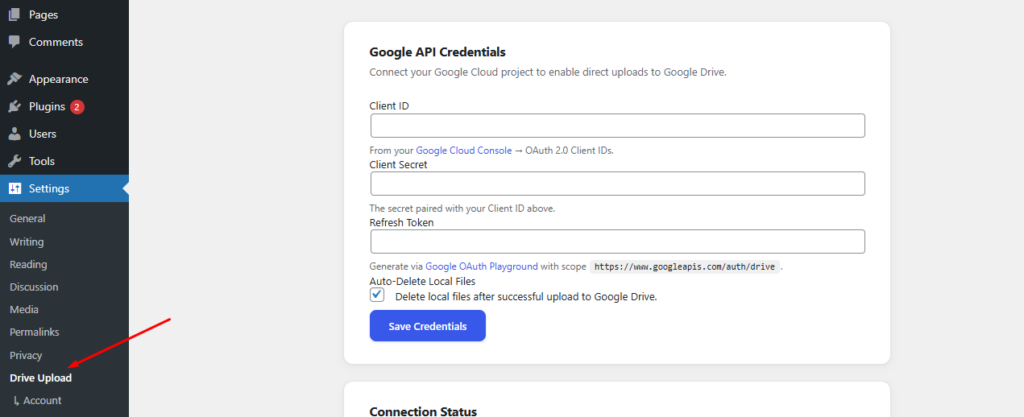
Navigate to Settings > Drive Upload in your WordPress dashboard.
Enter your Client ID, Client Secret, and Refresh Token.
Pro Tip: Enable “Auto-Delete Local Files” to keep your server storage clean.
Click Save Credentials.
2. Adding the Upload Field to Your Form #
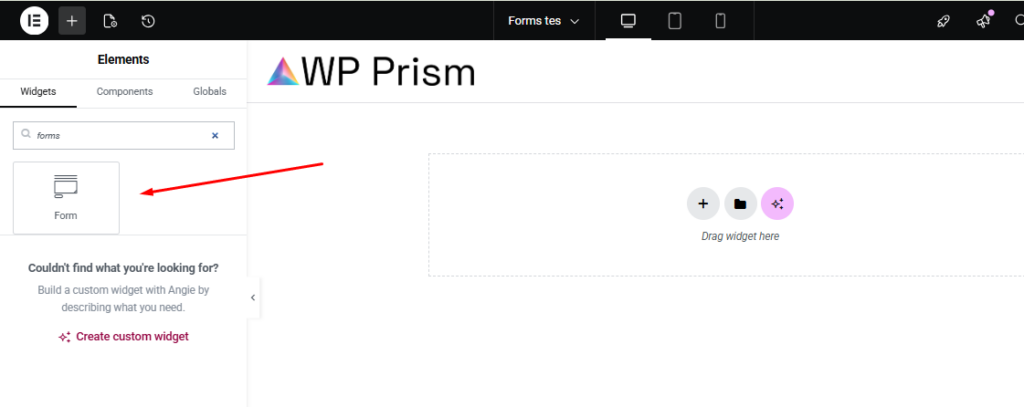
Once connected, you can add the upload field to any Elementor form widget.
Open your page in the Elementor Editor.
Drag the Form widget onto your page.
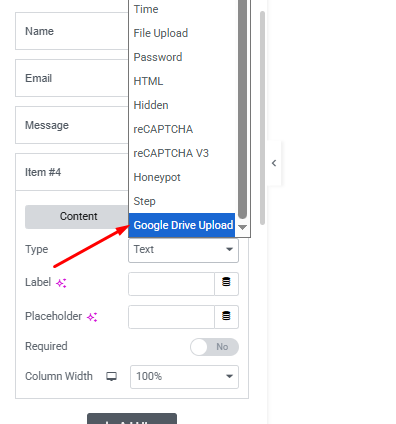
In the “Form Fields” tab, click + Add Item.
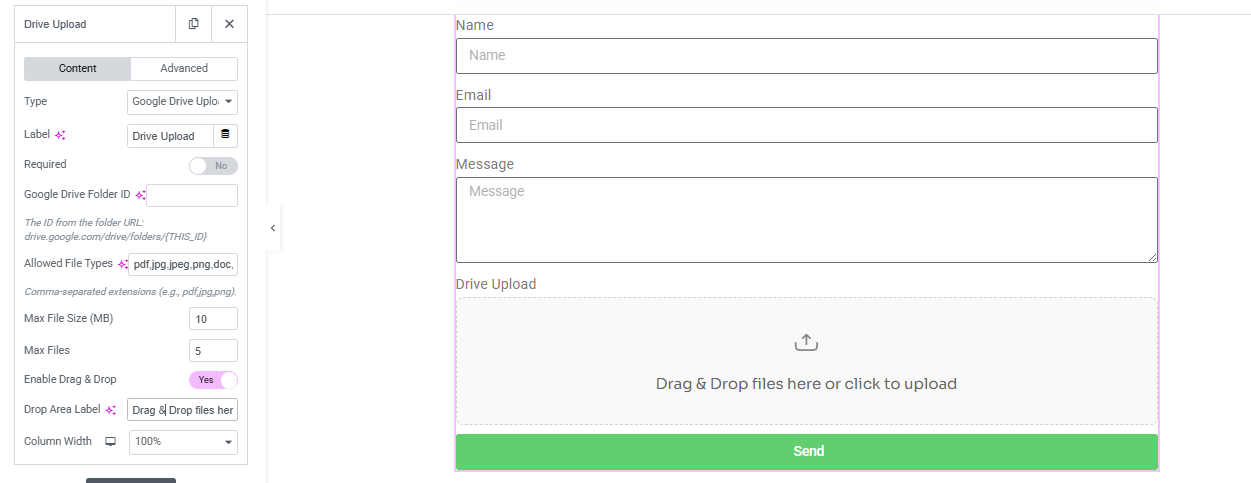
3. Configuring Field Settings #
Tailor the upload experience to your needs.
Google Drive Folder ID: Paste the ID of the specific folder where you want these files to go.
Allowed File Types: List the extensions you want to permit (e.g., pdf, jpg, zip).
Max File Size: Set a limit (in MB) for individual uploads.
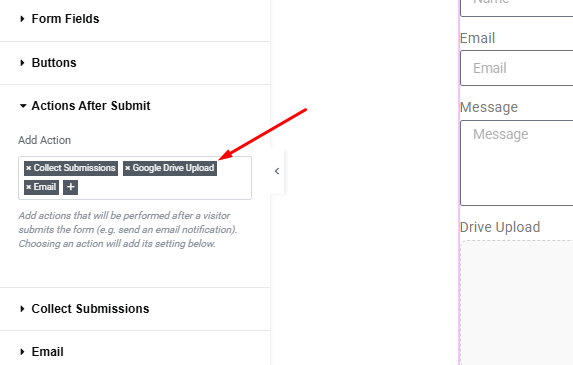
4. Enabling the Sync Action #
Crucial Step: You must tell the form to trigger the sync process after a user clicks submit.
Go to the Actions After Submit tab in the Form widget settings.
Click the “+” icon and select Google Drive Upload from the list.
This ensures that as soon as the form is sent, the files are securely pushed to your Google Drive.


Leave a Reply