
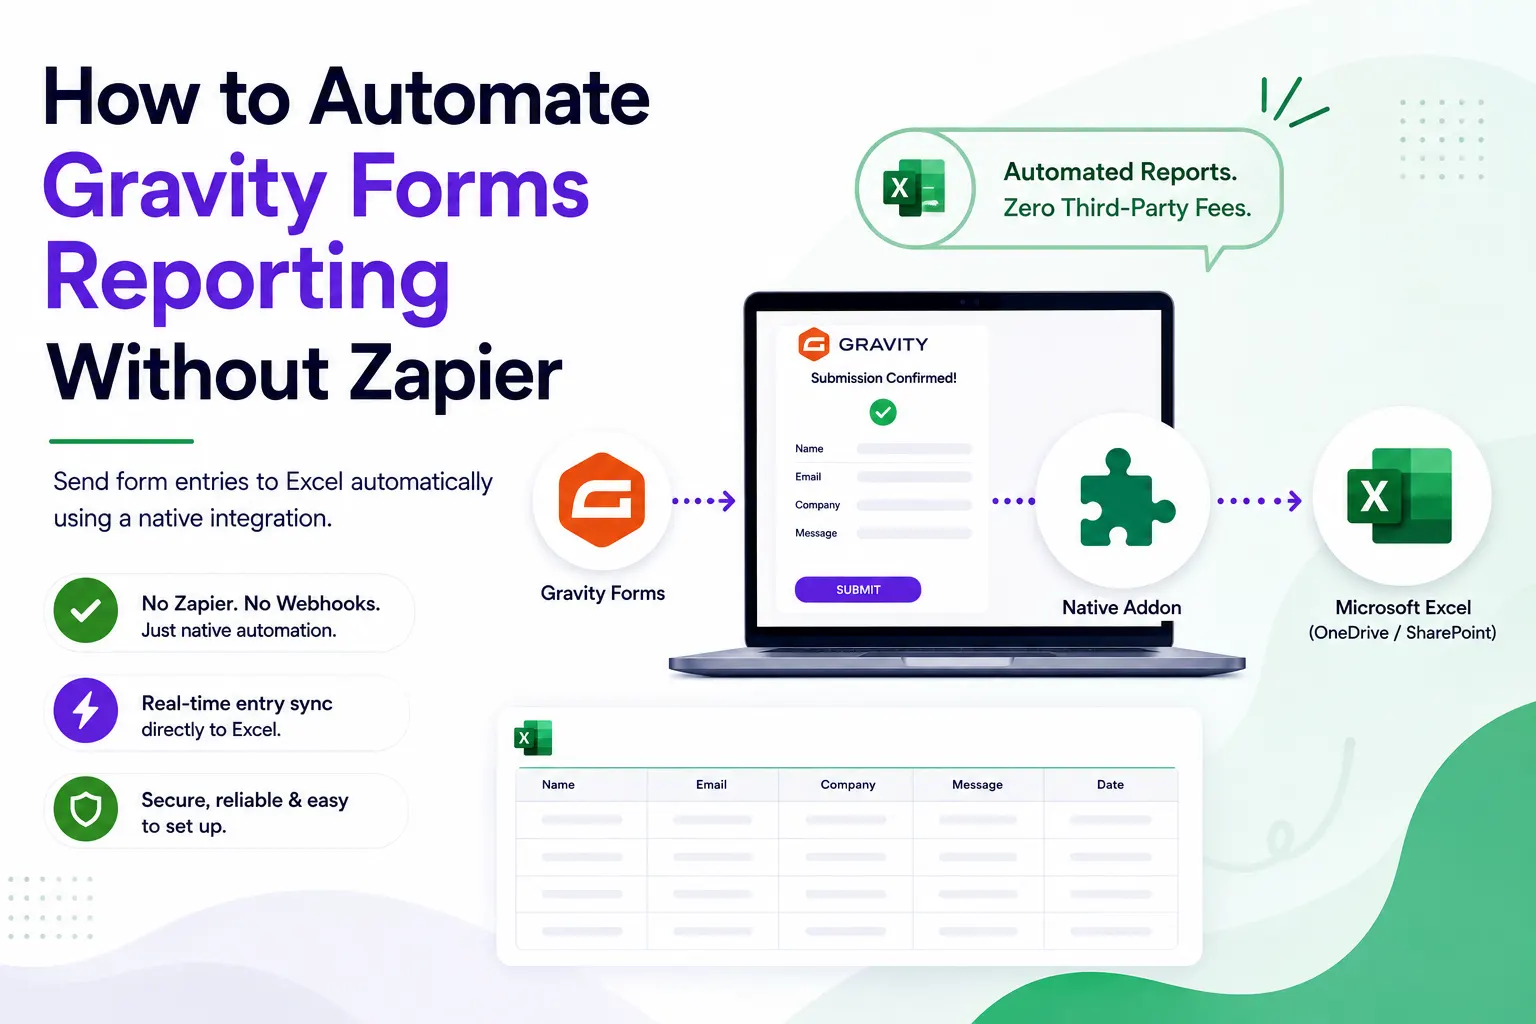
Most Gravity Forms users start in the same place with reporting: exporting a CSV every week or month, opening it in Excel, and spending time reformatting it into something usable. When that gets old, the next obvious move is Zapier. Set up a Zap, entries flow to a spreadsheet automatically, problem solved.
Until the task bill shows up. Or until a busy month pushes you past your plan tier. Or until you realize that every entry your form collects is passing through a third party platform on its way to a spreadsheet you own.
There is a cleaner way to do this. Here is how to set up fully automated Gravity Forms reporting that sends entries directly to Microsoft Excel Cloud, no Zapier account required.
What Automated Reporting Actually Means
The goal is simple: when a new entry comes into any of your Gravity Forms, it should appear in a designated Excel workbook automatically, in real time, without anyone having to do anything.
That workbook becomes your live reporting view. Sales teams see new leads the moment they submit. HR coordinators see new applications without waiting on a weekly export. Operations managers see order or booking data updated continuously rather than in batches.
The alternative, manual CSV exports on a schedule, introduces lag and version confusion. Zapier removes the manual step but replaces it with a cost that scales with your form volume and a data path that goes through an external platform. A native integration removes both problems.
The Tool: Gravity Forms Microsoft Excel Cloud Addon
The Gravity Forms Microsoft Excel Cloud Addon connects your Gravity Forms directly to Microsoft Excel Cloud using Microsoft’s own API. When a new entry is submitted, it writes a new row to your designated workbook in real time.
No Zapier. No task counting. No third party platform handling your form data. Just your WordPress site talking directly to Microsoft’s API and your team’s Excel workbook updating immediately.
Setting Up Automated Reporting: The Full Flow
Step 1: Connect to Microsoft via Azure
The addon authenticates with Microsoft through an Azure app registration, the same OAuth2 flow Microsoft uses for all its API integrations. You do this once and it covers all your forms.
In the Microsoft Azure Portal:
- Go to App registrations → New registration
- Name the app (something like “GF Excel Reporting” works)
- Set supported account types to Accounts in any organizational directory and personal Microsoft accounts
- Add your site’s redirect URI from the addon settings page under Forms → Settings → Excel Cloud
- Register the app, then copy the Client ID and Directory (tenant) ID
- Under Certificates & secrets, create a new client secret and copy the value immediately
- Under API permissions, add Microsoft Graph → Delegated → Files.ReadWrite.All and grant admin consent
Back in WordPress under Forms → Settings → Excel Cloud, paste in the Client ID, Client Secret, and Tenant ID, save, then click Connect to Microsoft and authorize with your Microsoft 365 account.
Step 2: Prepare Your Excel Workbook
Open Excel Online (via OneDrive or SharePoint) and create the workbook you want entries to report into. In the first row of the sheet, add column headers that correspond to the form fields you want to capture.
A few reporting workbook tips:
- Keep the header row clean with no merged cells, the addon writes rows based on column position
- Add a Timestamp column if you want each entry row to record its submission time automatically
- If you want separate sheets for different forms or entry types, set those up now before configuring the feeds
Step 3: Create a Feed on Each Form
Go to each Gravity Form you want to include in your reporting. Under Form Settings → Excel Cloud, click Add New Feed.
Select your OneDrive or SharePoint workbook, select the specific sheet, and map each form field to the correct Excel column. Save the feed.
Repeat this for each form that feeds into your reporting setup. Each form gets its own feed, and multiple forms can write to the same workbook (on the same sheet or different sheets) if your reporting needs it.
Step 4: Use Conditional Logic to Filter What Gets Reported
This is where automated reporting gets genuinely useful beyond a simple data dump. Gravity Forms feed conditional logic lets you set rules so a feed only fires when specific conditions are met.
Practical examples:
- A lead capture form that syncs to your sales reporting sheet only when the “Budget” field is above a certain value
- A job application form that syncs to the hiring team’s workbook only when the “Position” field matches an open role
- A support request form that syncs to your operations report only when “Priority” is set to High or Urgent
To set this up, in the feed settings check the Conditional Logic option and define your rules using the form fields. Entries that don’t meet the conditions are still stored in Gravity Forms as normal, they just don’t trigger the Excel sync for that feed.
Step 5: Verify With a Live Entry
Submit a test entry on each form and confirm the row appears in your Excel workbook within a few seconds. Check that field values landed in the correct columns and that conditional logic is filtering correctly if you set any rules.
Keeping Your Reporting Workbook Useful
Once the feeds are live, a few habits keep the reporting workbook from becoming messy over time:
Freeze the header row in Excel so column labels stay visible as the data grows. In Excel Online, go to View → Freeze Rows and Columns.
Don’t edit the columns the addon writes to. If you need to add calculated columns or formatting, add them to the right of the synced columns rather than between them. The addon writes to specific column positions and rearranging mapped columns breaks the feed.
Rotate your Azure client secret before it expires. When you created the secret in Step 1 you set an expiry date. Add a calendar reminder to create a new secret and update it in the addon settings before the current one expires, otherwise the sync stops until you update the credentials.
Add new form fields to the feed mapping when you update forms. If you add a field to a Gravity Form later, go back to the feed and map the new field to a new column in the workbook. The addon won’t detect new fields automatically.
Frequently Asked Questions
Can I report from multiple forms into one workbook? Yes. Create a feed on each form pointing to the same workbook. You can route all forms to one sheet for a unified view, or to separate sheets per form for cleaner separation.
What happens to historical entries that were submitted before I set up the feed? The addon syncs new entries from the point the feed goes live. For historical data, use Gravity Forms’ built in CSV export to do a one time import into the workbook, then let the addon handle everything going forward.
Does this work with Gravity Forms partial entries? Partial entries (from incomplete form submissions) are handled separately in Gravity Forms. The addon syncs completed entries by default. Check the plugin documentation for your version’s behavior on partial entries.
Can I use this for internal team reporting and external client reporting at the same time? Yes. Set up multiple feeds on the same form pointing to different workbooks, one for internal use and one shared with a client, with different field mapping or conditional logic on each.
Will this work if my Microsoft account uses organizational single sign on? Yes. During the Azure app registration you select “Accounts in any organizational directory and personal Microsoft accounts” which covers both personal Microsoft accounts and organizational accounts using SSO.
Stop scheduling CSV exports and have Gravity Forms entries land in Excel automatically. Get the Gravity Forms Microsoft Excel Cloud Addon and have your first automated report live today.